Commercial real estate broker personal branding helps visitors understand your specialty when your website gives them a clear biography, credible evidence, and a useful next step.
You might already have a headshot, a resume, and a stack of property flyers.
The problem is turning those pieces into a page that explains why someone should contact you about their particular property decision.
A designer can arrange the content, but the facts and permissions need to come from your team.
I create commercial real estate websites, and I recommend preparing seven approved assets before a new broker page goes into design.
This preparation gives the project a clear starting point and makes missing information easier to spot.
You don’t need to sound like the loudest broker in town.
You need to explain whom you serve, what you handle, and what supports that claim.
The following packet keeps those decisions together so your designer isn’t hunting through old email attachments.
Ready to turn your broker content into a new website?
Prepare the assets below, then request the website design price list to compare the project with your plans.

The positioning statement names the right client.
Start with a short statement naming your audience, property focus, and actual service area.
For a hypothetical industrial broker, that might read, “I help small manufacturers find industrial space in the markets my team serves.”
That example needs a real location before publication, and it should describe work the broker actually handles.
The sentence gives your designer something useful to place near the top of the page.
A slogan like “Your partner in success” doesn’t explain any of those things.
I’d rather see plain language that lets a visitor recognize a fit.
Write down the questions your preferred clients bring to a first conversation.
An owner deciding whom to hire may care about your leasing role, while an occupier may want to understand your search process.
Those are different needs, even if the same broker serves both.
Pick the main audience for this page and give the other audience a clear route to relevant service information.
What should commercial real estate broker personal branding explain?
Review your positioning statement beside your actual assignments and approved experience.
If your work spans several property types, describe that range honestly instead of inventing a narrow specialty for marketing purposes.
You can still lead with the work you want to explain most clearly.
Include a short list of services you provide and services you refer elsewhere.
That private list helps your designer avoid writing a promise your team cannot fulfill.
Keep the wording consistent across the broker page, team summary, and contact area.
Send the final statement in an editable document with the approver’s name attached.
Treat it as a content decision that can be reviewed, rather than a phrase the designer must guess from your logo.

The broker biography explains relevant experience.
Prepare a short introduction for team cards and a longer biography for the full broker page.
I suggest drafting them together so they tell the same story at different lengths.
The short version should identify your role, market, and main service without requiring a visitor to read your career history.
The longer version can explain how your background relates to the decisions your clients face.
A prior role in construction, for example, belongs in the biography when it helps explain relevant experience and is accurate.
It doesn’t automatically qualify someone to offer engineering advice.
Make that distinction clear instead of letting a broad claim do too much work.
Use your current brokerage name, current role, and approved professional name throughout the packet.
Check dates and titles against your own records before sending the draft for approval.
If the team page uses third person, keep that voice consistent across biographies.
Your individual introduction can still sound human without changing grammatical person halfway through.
Personal details should serve the reader.
A short line about community involvement can be useful when it is current and relevant.
A long list of hobbies shouldn’t push your actual services below the information a visitor needs first.
Read the biography aloud and remove phrases you wouldn’t say in a normal conversation.
Words like “visionary” and “unparalleled” need a good reason to occupy space.
Have a colleague underline every statement that requires verification.
Then resolve those statements before a designer copies them into the page.
Keep the editable source document after launch, because a future role change should not require reconstructing your biography from screenshots.
Your biography is a working business asset, and it deserves a clear owner.
Need help finding clearer words for your specialty?
Start with the branding material in my Free Marketing Resources, and bring your approved message into the biography draft.

The evidence file supports every public claim.
Create a private evidence file alongside the public biography.
For each claim, record the proposed wording, its source, the relevant dates, and who approved publication.
This is especially helpful when a broker has worked on transactions with a larger team.
Explain the broker’s actual role rather than implying sole credit for the firm’s entire record.
If a number describes team activity, label it as team activity and define the period it covers.
When that detail cannot be established, use a narrower statement you can support.
I’d choose a clear account of the work over a large number with a fuzzy definition.
For REALTORS®, NAR’s 2026 Code of Ethics requires truthful communications and a true picture in advertising under Article 12.
Its standards also address current website information, firm identification, and credentials that someone is entitled to use.
Those provisions apply to REALTORS®, and they do not replace the advertising rules that apply to your location and license.
Have the appropriate brokerage reviewer check the final wording and required disclosures.
Proof needs permission as well as accuracy.
A client name or property photograph may reveal more than you intend.
Confirm that a transaction summary, testimonial, or logo is approved for this particular use before including it.
Keep the approval with the asset so nobody has to rely on a remembered conversation.
If a client has not permitted identification, don’t disguise a real confidential assignment as an invented success story.
Use a general explanation of your service process instead.
A new broker can explain relevant training, a defined role, and available team support without borrowing another person’s achievements.
The page should reflect the evidence you have today.

The portrait packet makes the broker recognizable.
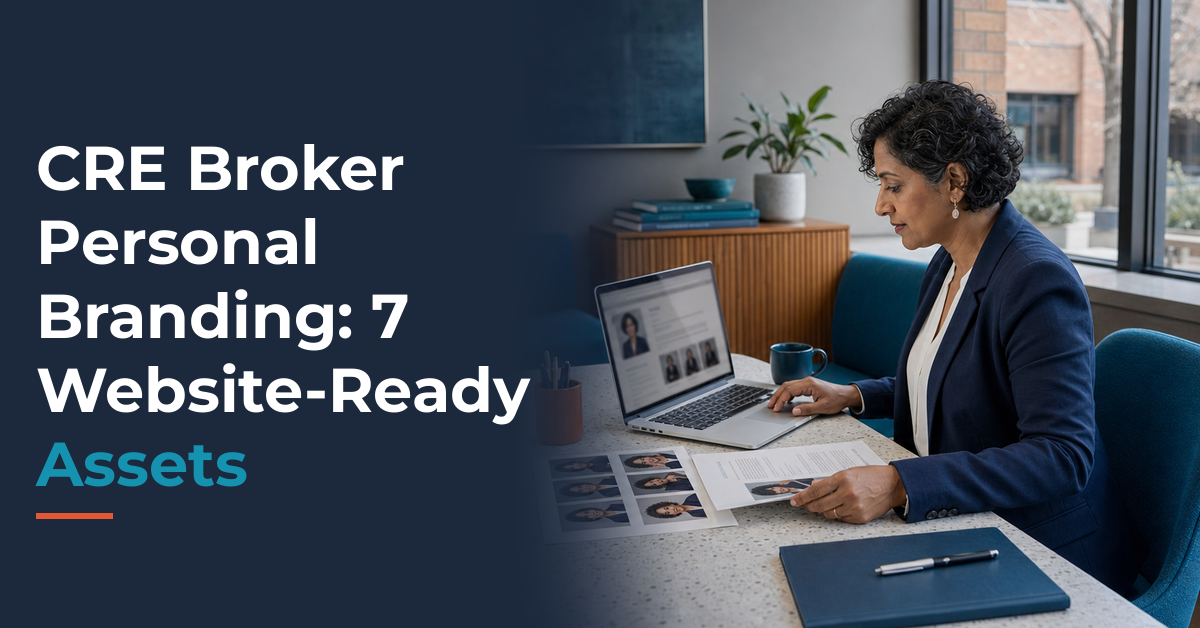
Send a current headshot that represents the person a visitor will meet.
Include the original file and confirm that your team has permission to use it on the website.
A small image copied from an email signature gives the designer very little flexibility.
A larger original gives room for the team card, the full biography, and different screen sizes.
Ask your designer which file dimensions and crop options the layout needs before booking new photography.
The right answer depends on the planned page, so there is no need to guess a universal minimum here.
Provide a simple filename that identifies the person and the approved version.
Keep the original separate from any retouched or cropped copy.
If several brokers appear together, send a labeled reference so the designer can match each name to the correct face.
That is a small task with an obvious benefit.
The supporting photographs should reflect real work.
A portrait can show who you are, while a second image can add useful context about the property work you do.
Choose a photograph that you own or have permission to publish, and check whether people or identifying details require additional approval.
An illustrative scene should not be presented as evidence of a completed transaction.
Avoid placing a recognizable building beside copy that implies you represented it when you did not.
Give the designer accurate notes about what each photograph shows and what it must not suggest.
Describe its purpose in plain language instead of supplying a string of keywords for alternative text.
Review the mobile crop as well as the desktop layout before approval.
Your face and the useful subject should remain visible when the available space changes.

The service outline connects the bio to real work.
A biography introduces the person, but a visitor may still need to know how the service works.
Prepare a short outline covering the client situation, the work you provide, and the first conversation.
For a hypothetical tenant representative, that outline might discuss space requirements, search boundaries, and the information needed to begin.
It should not promise a particular lease result or timeline.
Write down which service explanations already exist and which ones need new copy.
Your designer can then connect the broker page to the right service page without duplicating entire sections.
Keep each page focused on its own job.
The biography explains the person, while the service page explains the engagement.
If your team serves both owners and occupiers, make the routes clear enough that visitors can choose for themselves.
I’d use descriptive link wording instead of several identical buttons that all say “Learn more.”
The content should answer a useful first question.
Think about what a prospect needs to decide before contacting you.
They may need to know whether you handle their property type, whether their location is within your area, or which colleague manages a specific service.
Answer what you can without turning the biography into a full brochure.
Put a named owner beside each service description in your handoff document.
That person should confirm the scope and tell the team when it changes.
For help clarifying the underlying message, use the commercial real estate branding resources to work through your offer before writing the page.
Bring the approved conclusions into the website packet, rather than sending unfinished exercises as final copy.
Prefer to work through the message with video guidance?
Browse my Helpful Video Walkthroughs and Tools and choose material relevant to the offer your broker page needs to explain.

The contact plan offers a clear next step.
Choose a primary action that matches what a visitor has just learned about the broker.
Someone reading a tenant representative’s biography may want to discuss space needs rather than request a generic company brochure.
Write button text that explains the action and a short line describing what the conversation covers.
Then identify the actual destination and the person responsible for responding.
A button is only useful when the destination supports its promise.
If a colleague receives the first inquiry, explain that handoff clearly instead of suggesting the broker personally answers every message.
Keep response timing out of the copy unless your team has approved a commitment it can maintain.
I would rather set an accurate expectation than publish an impressive promise nobody owns.
The inquiry should collect enough context to begin.
Decide what your team needs for a useful first reply.
For a space search, that might include the general location and type of property the visitor needs.
Avoid asking for sensitive business records in a general website inquiry.
Your team can arrange an appropriate way to share detailed information later.
Also provide an approved alternative contact method for someone who prefers another route.
Include the real phone number and email address in your handoff packet, then check both in the built page.
If you want a booking option, supply the approved scheduling destination and confirm who manages its availability.
Do not let a designer guess which calendar should receive a prospect.
Read the confirmation message alongside the button text before launch.
Both should describe the same next step and identify the same responsible team.
The contact plan turns personal branding into a practical conversation path rather than a page that ends with a portrait.

The approval packet keeps the website accurate.
Gather the approved positioning statement, biographies, evidence notes, photographs, service outline, and contact plan in one shared project folder.
Use a simple index that names the final file for each asset and the person who approved it.
Keep private evidence separate from material intended for the public page.
Mark unapproved items clearly so a draft claim cannot slip into the design by accident.
Your designer should know which material is ready to build and which questions remain open.
Assign one person to consolidate feedback from the broker, brokerage, and any required compliance reviewer.
Competing edits in several email threads can leave the team unsure which version is final.
I recommend resolving wording decisions in the source document before sending the designer a new version.
The launch review should follow a visitor’s route.
Start at the team listing, open the broker page, read the specialty statement, and follow the primary contact action.
Check the name, role, portrait, service area, supporting claims, and required disclosures on the actual page.
Repeat the route on a phone and confirm that long titles and contact controls remain readable.
Send a clearly labeled test inquiry and have the responsible person confirm receipt.
A successful message on the screen does not by itself confirm that the intended person received it.
Record approval of the built page separately from approval of the original copy.
Then choose who will review the page when a broker changes roles, earns a credential, or leaves the firm.
Remove stale claims and outdated contact details when you discover them.
Commercial real estate broker personal branding stays useful when the website reflects the current person, current work, and current way to get in touch.
A clear packet makes those updates easier to handle without rewriting the entire page.
Have the packet ready for a website project?
Use the website design price list to plan your next conversation about the page, its content, and the wider site.

Broker personal branding questions have practical answers.
What belongs in a commercial real estate broker personal branding packet?
Include an approved specialty statement, short and full biographies, supporting evidence, current photographs, a service outline, a contact plan, and a record of approvals.
Keep private evidence separate from the files intended for publication.
How can a new broker build a credible website biography?
Describe your actual role, relevant background, approved training, and the services you provide.
Explain team support accurately without claiming another broker’s transactions as your own.
A clear description of the work can be useful even without a long deal history.
Should a broker biography include transaction totals?
Include totals only when you can verify the numbers, define the period and role, and obtain any necessary publication approval.
Identify team results as team results.
If those details are unclear, use a narrower explanation of your experience instead.
Does a personal broker page replace brokerage identification?
The page should preserve the firm identification and disclosures required for your situation.
NAR’s 2026 standards address firm names and states of licensure for the websites they cover.
Ask your brokerage reviewer to confirm applicable local requirements before launch.
When should broker website content be reviewed?
Review the page whenever a role, affiliation, credential, service area, or contact method changes.
Assign a person to make corrections and keep the approved source documents available.
Include the team card and contact destination in the same review.